.png.6dd3056f38e93712a18d153891e8e0fc.png.1dbd1e5f05de09e66333e631e3342b83.png.933f4dc78ef5a5d2971934bd41ead8a1.png)
Search the Community
Showing results for tags 'firmware'.
Found 6 results
-
 Authors/Presenters: Binbin Zhao, Shouling Ji, Xuhong Zhang, Yuan Tian, Qinying Wang, Yuwen Pu, Chenyang Lyu, Raheem Beyah Many thanks to USENIX for publishing their outstanding USENIX Security ’23 Presenter’s content, and the organizations strong commitment to Open Access. Originating from the conference’s events situated at the Anaheim Marriott; and via the organizations YouTube channel. Permalink The post USENIX Security ’23 – UVSCAN: Detecting Third-Party Component Usage Violations in IoT Firmware appeared first on Security Boulevard. View the full article
 -
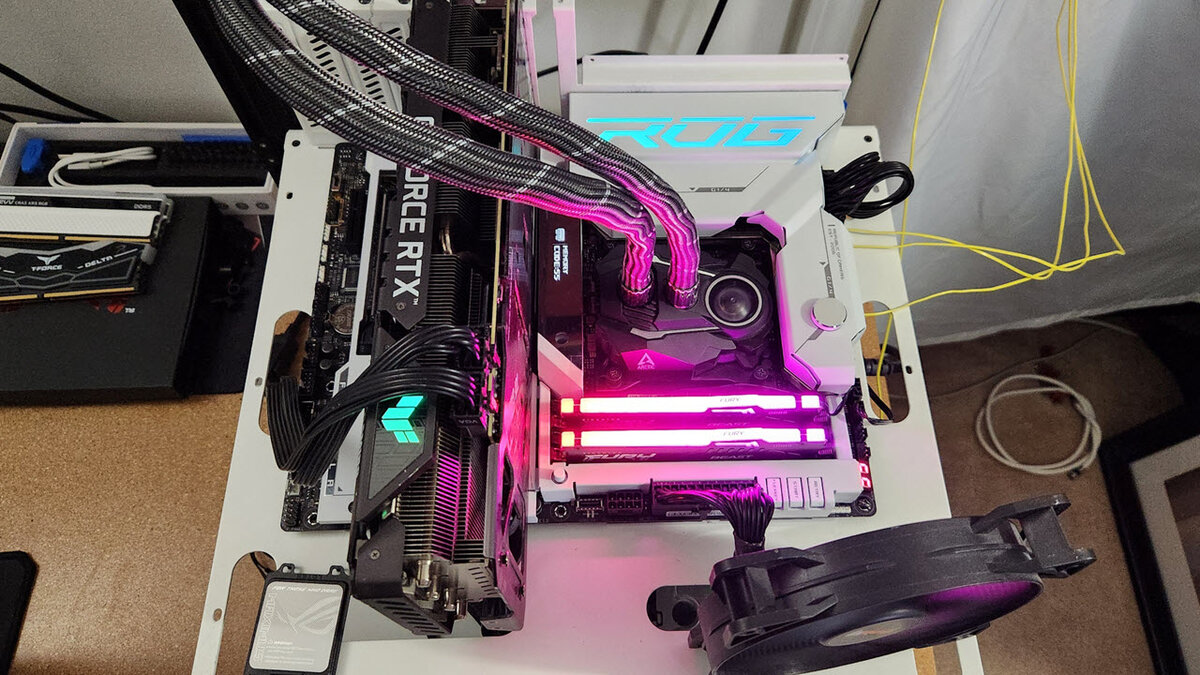
 To alleviate the frustration with instability issues on motherboards using 13th—and 14th-generation Intel CPUs, Asus is taking the first step by providing a setting on a new beta BIOS that uses Intel settings instead of its own. View the full article
-
 The full form of IOMMU is Input Output Memory Management Unit. IOMMU maps the virtual addresses of a device to physical addresses which allows the device to be passed to a virtual machine (VM). VT-D does the same thing as IOMMU. The main difference is that IOMMU is developed by AMD while VT-D is developed by Intel. In this article, we will show you how to enable the IOMMU/VT-d CPU feature from the BIOS/UEFI firmware of some of the most popular desktop motherboards (i.e. ASUS, ASRock, MSI, and Gigabyte). Table of Contents How to Enable IOMMU/VT-d from the BIOS/UEFI Firmware of ASUS Motherboards How to Enable IOMMU/VT-d from the BIOS/UEFI Firmware of ASRock Motherboards How to Enable IOMMU/VT-d from the BIOS/UEFI Firmware of MSI Motherboards How to Enable IOMMU/VT-d from the BIOS/UEFI Firmware of Gigabyte Motherboards Conclusion References How to Enable IOMMU/VT-d from the BIOS/UEFI Firmware of ASUS Motherboards To enter the BIOS/UEFI Firmware of your ASUS motherboard, press <Delete> right after pressing the power button of your computer. The BIOS/UEFI Firmware of ASUS motherboards has two modes: “EZ Mode” and “Advanced Mode”. Once you’ve entered the BIOS/UEFI Firmware of your ASUS motherboard, you will be in “EZ Mode” by default. To enable IOMMU/VT-d on your ASUS motherboard, you have to enter the “Advanced Mode”. To enter “Advanced Mode”, press <F7> while you’re in “EZ Mode”. If you have an AMD processor, navigate to the “Advanced” tab (by pressing the arrow keys), navigate to “AMD CBS”, and set “IOMMU” to “Enabled” from the BIOS/UEFI Firmware of your ASUS motherboard. If you have an Intel processor, navigate to the “Advanced” tab (by pressing the arrow keys), navigate to “System Agent (SA) Configuration”, set “VT-d” to “Enabled”, and set “Control Iommu Pre-boot Behavior” to “Enable IOMMU during boot” from the BIOS/UEFI Firmware of your ASUS motherboard. To save the changes, press <F10>, select OK, and press <Enter>. The IOMMU/VT-d feature should be enabled. For more information on enabling the IOMMU/VT-d feature from the BIOS/UEFI Firmware of your ASUS motherboard, check the BIOS Manual of your ASUS motherboard. How to Enable IOMMU/VT-d from the BIOS/UEFI Firmware of ASRock Motherboards To enter the BIOS/UEFI Firmware of your ASRock motherboard, press <F2> or <Delete> right after pressing the power button of your computer. If you’re using a high-end ASRock motherboard, you may find yourself in “Easy Mode” once you enter the BIOS/UEFI Firmware of your ASRock motherboard. In that case, press <F6> to switch to “Advanced Mode”. If you’re using a cheap/mid-range ASRock motherboard, you may not have an “Easy Mode”. You will be taken to “Advanced Mode” directly. In that case, you won’t have to press <F6> to switch to “Advanced Mode”. You will be in the “Main” tab by default. Press the <Right> arrow key to navigate to the “Advanced” tab of the BIOS/UEFI Firmware of your ASRock motherboard. If you have an AMD processor, navigate to “AMD CBS” > “NBIO Common Options” and set “IOMMU” to “Enabled” from the BIOS/UEFI Firmware of your ASRock motherboard. If you have an Intel processor, navigate to “Chipset Configuration” and set “VT-d” to “Enabled” from the BIOS/UEFI Firmware of your ASRock motherboard. To save the changes, press <F10>, select Yes, and press <Enter>. The IOMMU/VT-d feature should be enabled. For more information on enabling the IOMMU/VT-d feature from the BIOS/UEFI Firmware of your AsRock motherboard, check the BIOS Manual of your ASUS motherboard. How to Enable IOMMU/VT-d from the BIOS/UEFI Firmware of MSI Motherboards To enter the BIOS/UEFI Firmware of your MSI motherboard, press <Delete> right after pressing the power button of your computer. The BIOS/UEFI Firmware of MSI motherboards has two modes: “EZ Mode” and “Advanced Mode”. Once you’ve entered the BIOS/UEFI Firmware of your MSI motherboard, you will be in “EZ Mode” by default. To enable the IOMMU/VT-d on your MSI motherboard, you have to enter the “Advanced Mode”. To enter the “Advanced Mode”, press <F7> while you’re in “EZ Mode”. Navigate to “OC settings”, scroll down to “CPU Features”, and press <Enter>. If you have an AMD processor, set “IOMMU” to “Enabled”. If you have an Intel processor, set “Intel VT-D Tech” to “Enabled”. To save the changes, press <F10>, select Yes, and press <Enter>. The IOMMU/VT-d feature should be enabled. For more information on enabling the IOMMU/VT-d feature from the BIOS/UEFI Firmware of your MSI motherboard, check the BIOS Manual of your MSI motherboard. How to Enable IOMMU/VT-d from the BIOS/UEFI Firmware of Gigabyte Motherboards To enter the BIOS/UEFI Firmware of your Gigabyte motherboard, press <Delete> right after pressing the power button of your computer. The BIOS/UEFI Firmware of Gigabyte motherboards has two modes: “Easy Mode” and “Advanced Mode”. To enable IOMMU/VT-d, you have to switch to the “Advanced Mode” of the BIOS/UEFI Firmware of your Gigabyte motherboard. If you’re in “Easy Mode”, you can press <F2> to switch to “Advanced Mode” on the BIOS/UEFI Firmware of your Gigabyte motherboard. Use the arrow keys to navigate to the “Settings” tab. If you have an AMD processor, navigate to “Miscellaneous” and set “IOMMU” to “Enabled” from the BIOS/UEFI Firmware of your Gigabyte motherboard. If you have an Intel processor, navigate to “Miscellaneous” and set “VT-d” to “Enabled” from the BIOS/UEFI Firmware of your Gigabyte motherboard. To save the changes, press <F10>, select Yes, and press <Enter>. IOMMU/VT-d should be enabled for your processor. For more information on enabling IOMMU/VT-d on your Gigabyte motherboard, we recommend you to read the “User Manual” or “BIOS Setup Manual” of your Gigabyte motherboard. Conclusion We showed you how to enable the IOMMU/VT-d CPU feature from the BIOS/UEFI firmware of some of the most popular desktop motherboards (i.e. ASUS, ASRock, MSI, and Gigabyte). References ROG STRIX Z690 series BIOS Manual ( English Edition ) ASUS ROG Maximus Z690 Hero BIOS Overview ROG STRIX X670E Series BIOS Manual ( English Edition ) ASRock Bios Optimization! [AMD 7800X3D | X670E Taichi Carrara | XMP PC 5600 CL28 G.Skill | 4090HOF] ASRock Z690 Taichi BIOS Overview MSI MEG Z690 ACE BIOS Overview Pomoc techniczna cz. 1 – Ustawianie optymalne biosu i OC w płycie głównej MSI B450 Gaming Plus Max Bios Settings 7950x3D 7800x3D [Gigabyte Aorus Elite Ax x670] GIGABYTE Z690 Aorus Elite DDR4 Motherboard BIOS Overview View the full article
 -
Permalink The post USENIX Security ’23 – Lukas Seidel, Dominik Maier, Marius Muench – Forming Faster Firmware Fuzzers appeared first on Security Boulevard. View the full article
-
Apple today introduced a new firmware update for AirPods Max. The new firmware is 6A325, up from the 6A324 firmware released in January. Apple does not provide details on what features might be included in the refreshed firmware, so it is unclear what's new, and the notes often only list generic bug fixes. Apple also does not offer instructions on how to upgrade the software on the AirPods, but firmware is generally installed over-the-air while the AirPods are powered on and connected to an iOS device or a Mac. You can check your AirPods Max firmware by following these steps: Connect your AirPods to your iOS device. Open the Settings app. Tap General. Tap About. Tap AirPods. Look at the number next to "Firmware Version." If we find anything notable in the firmware release, we'll update this article.Related Roundup: AirPods MaxBuyer's Guide: AirPods Max (Caution)Related Forum: AirPods This article, "Apple Releases New Firmware for AirPods Max" first appeared on MacRumors.com Discuss this article in our forums View the full article
-
Intel has disclosed 34 new security issues, which largely impact software like XTU and chipset drivers, but also firmware for Thunderbolt. View the full article


-
Forum Statistics
43.9k
Total Topics43.4k
Total Posts